
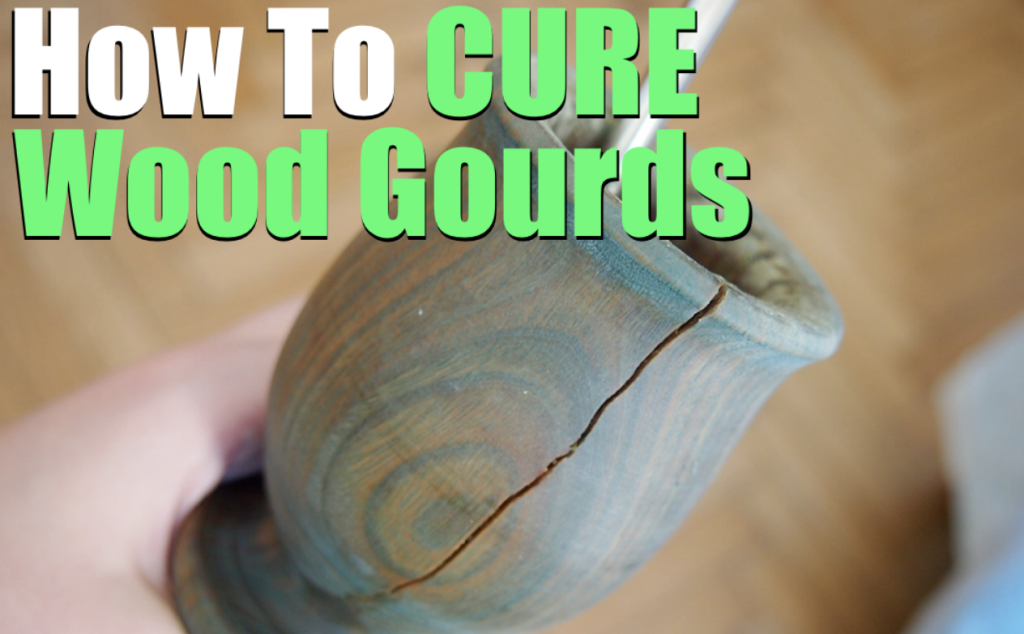
Wood gourds are great for drinking yerba mate, but unfortunately, they’re very sensitive and prone to cracking or breaking. Luckily, this post will show you how to prevent this from happening.
I can’t tell you how many times I’ve heard someone complain about they’re wooden gourd cracking or growing mold.
And it’s usually because of one of three reasons:
- They didn’t cure it
- They cured it wrong
- Or they bought a low-quality gourd
Now before I show you how to cure a wooden gourd, you need to learn a few things first…
Don’t Buy A Low-Quality Wooden Gourd
Don’t cheap out on wooden gourds. No matter if they’re made out of carob (algarrobo) or palo santo, the truth is, no amount of curing will prevent a bad wooden gourd from breaking.
None.
If the gourd itself is weak from the start, there’s not much you can do to save it.
When buying a wooden gourd, or any gourd for that matter, you get what you pay for. This isn’t the case all the time, but it often is. So if you went cheap on your wooden gourd, don’t be surprised if it cracks quickly.
And if it does crack quickly, it can also be because…
You Cured It Wrong
Like I said earlier, wooden gourds are highly sensitive.
If you planned on curing your wooden gourd the traditional way – with hot water and yerba – you might be in for some trouble.
The water you use could be too hot and potentially crack your new gourd. It can also be at risk for mold as you’re leaving wet leaves inside of it for at least 12-24 hours.
So what’s the solution?
How To Cure A Wooden Mate Gourd
Before I explain how to cure a wooden gourd, there’s one quick thing you need to do beforehand.
You see, when you get a wooden gourd, you’ll usually find debris inside of it. But don’t worry, it’s just wood shavings from when it was being made. However, you obviously don’t want to consume this. So what you want to do is fill your wooden gourd with hot water, let it soak for a few minutes, then rinse, and let it fully dry before curing.
This should clear out whatever was inside. For safe measures, you can repeat this process as many times as you want until you’re sure it’s clean.
Now you’re ready to start curing your wooden gourd. Read the step-by-step instructions below or view our quick 3-minute video:
Step 1:
Get some natural oil.
I always like to use coconut oil because of its smell and antimicrobial, antibacterial, and anti-fungal properties. I’m not sure how much this plays a role in protecting my gourd, but so far so good as my gourd never cracked or grew mold before. But you can use whatever oil you’d like such as olive oil, butter, or avocado oil for example.
Step 2:
Now, lather some oil onto your hands and start rubbing it all over the exterior of your gourd.
Make sure you coat every spot as best possible, even the bottom. What you’re doing here is sealing every pore and small opening in the gourd. This helps hold it together and prevents it from absorbing too much water, which in return, stops the wood from expanding and possibly cracking.
I don’t recommend coating the inside of your gourd with oil as it’s not necessary. Doing so will also affect the taste of your mate.
Step 3:
Once you’ve completely covered the outside of your gourd in oil, let it sit for 1-3 hours. Allow the gourd to soak in all the oil.
Step 4:
When time’s up, grab a paper towel or cloth, and wipe down the excess oil.
And that’s it!
You’re done. Your gourd is now fully cured, ready to drink, and will have a nice shine to it.
Simple isn’t it?
You want to do this every couple of weeks – or whenever you see it drying out or losing its sheen – to maintain its condition.
If, however, this sounds like too much work for you, there’s an alternative…
Buy An Aluminum-Wrapped Gourd

Aluminum-wrapped gourds don’t need to be cured. The only thing you’ll need to do is clean the debris inside.
This metal coating also helps keep the gourd stay intact so that if it were to crack, it won’t break apart and can still possibly be used. Plus, notice how the rim of the gourd is also protected. This way, if you happened to tip it over, no part of the wood will be harmed – only the outer aluminum.
If you want to save yourself time and effort from curing, click here now to grab this aluminum-wrapped palo santo gourd!
Final Words
Wooden gourds are a great gourd to have, but owning one can be tedious.
We’ve all heard horror stories of people breaking their gourd or of people having mold grow inside of it.
But let me be the first to tell that this doesn’t happen as often as you think.
And hopefully, won’t happen to you either.
You just learned everything you need to know on how to cure a wooden gourd, and how to keep it in great shape for years to come. As long as you’re careful not to drop it, tip it over, or pour in water that’s too hot (I wouldn’t do anything above 170ºF / 77ºC), you should never have a problem.
Also, remember to never cheap out on your gourd.
P.S. If you found this article helpful, you might also want to check out our store for exclusive gourds, bombillas, and more. We provide plenty of high-quality handcrafted wood gourds as well.
Hi Darren,
Thank you so much for the info! Oh I have one follow-up that I forgot to ask with my first question, are wooden gourds also ones that you have to wait to dry after each use before using it again?
Thanks,
Danyl